1. Conx Neural Networks
1.1. The On-Ramp to Deep Learning
Built in Python 3 on Keras 2.
![]()

![]()
![]()
Read the documentation at conx.readthedocs.io
Ask questions on the mailing list: conx-users
Implements Deep Learning neural network algorithms using a simple interface with easy visualizations and useful analytical. Built on top of Keras, which can use either TensorFlow, Theano, or CNTK.
The network is specified to the constructor by providing sizes. For example, Network("XOR", 2, 5, 1) specifies a network named "XOR" with a 2-node input layer, 5-unit hidden layer, and a 1-unit output layer.
1.2. Example
Computing XOR via a target function:
import conx as cx

dataset = [[[0, 0], [0]],
           [[0, 1], [1]],
           [[1, 0], [1]],
           [[1, 1], [0]]]

net = cx.Network("XOR", 2, 5, 1, activation="sigmoid")
net.set_dataset(dataset)
net.compile(error='mean_squared_error',
            optimizer="sgd", lr=0.3, momentum=0.9)
net.train(2000, report_rate=10, accuracy=1.0)
net.test(show=True)
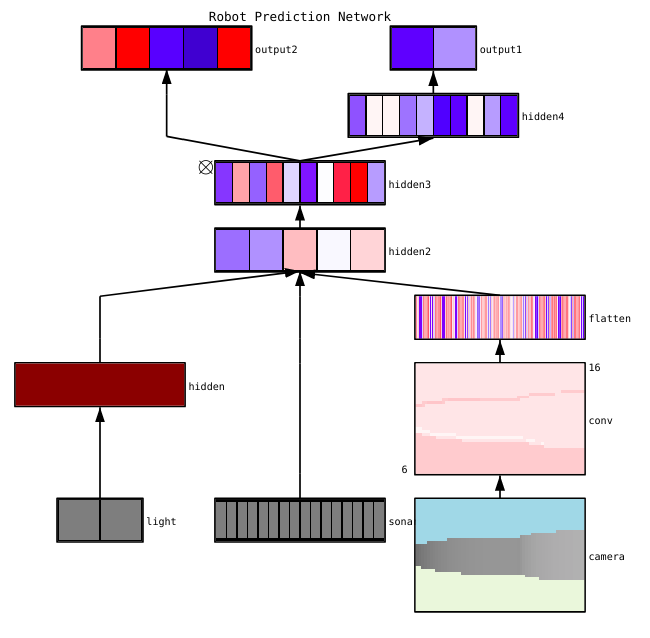
Creates dynamic, rendered visualizations like this:
1.3. Don't Install
Rather than installing conx, consider one of the following pre-built options:
- Using our mybinder in-the-cloud version. Availability may be limited due to demand.
- Use our Conx Docker container.
- Use our VirtualBox image.
- Use one of the online, freely available Jupyter servers, including:
1.4. Install
conx requires Python3, Keras version 2.0.8 or greater, and some other Python modules that are installed automatically with pip.
On Linux, you may need to install libffi and libffi-dev in order to render layers for the network display. If you attempt to display a network and it appears empty, or if you attempt to network.propagate_to_image() and it gives a PIL error, you need these libraries.
On Ubuntu or other Debian-based system:
sudo apt install libffi-dev libffi6
Next, we use pip to install the Python packages.
Note: you may need to use pip3, or admin privileges (eg, sudo), or install into a user environment.
pip install conx -U
You will need to decide whether to use Theano, TensorFlow, or CNTK. Pick one. See docs.microsoft.com for installing CNTK on Windows or Linux. All platforms can also install either of the others using pip:
pip install theano
or
pip install tensorflow
On MacOS, you may also need to render the SVG visualizations:
brew install cairo
To make MP4 movies, you will need the ffmpeg executable installed and available on your default path.
On MacOS, you could use:
brew install ffmpeg
On Windows:
See, for example, https://github.com/adaptlearning/adapt_authoring/wiki/Installing-FFmpeg
On Linux:
sudo apt install ffmpeg
# or perhaps:
sudo yum install ffmpeg
1.4.1. Use with Jupyter Notebooks
To use the Network.dashboard() and camera functions, you will need to enable ipywidgets:
jupyter nbextension enable --py widgetsnbextension
If you install via conda, then it will already be enabled:
conda install -c conda-forge ipywidgets
1.4.2. Setting the Keras Backend
To use a Keras backend other than TensorFlow, edit (or create) ~/.keras/kerson.json, like:
{
    "backend": "theano",
    "image_data_format": "channels_last",
    "epsilon": 1e-07,
    "floatx": "float32"
}
1.4.3. Troubleshooting
- If you have a problem after installing matplotlib with pip, and you already have matplotlib installed (say, with apt) you may want to remove the apt-installed version of matplotlib.
- Theano has many known problems. Don't use Theano, use TensorFlow.
1.5. Examples
See the notebooks folder and the documentation for additional examples.